|
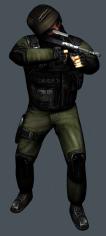
Defense: Counter-Terrorist
Defusion maps are the opposite of hostage rescue maps. Terrors attack, CTs defend, its that
simple.
Bomb Area A:
CT's spawn real close to the second (B) bombing area. But since most terrors run
for the first (A) one, most of your defenses should be there.
-=> Go the the first area and hide beside this
crate if a terror walks in front of you take him out.
-=> Another good spot is beside the boxes by the bomb target
. If a terror trys to set the C4 he'll be an easy kill for you.
Bomb Area B:
-=> If you jump up onto
the crate by the opening you'll have a good view of most of the area. And you should be able to take out any terrors that
come threw the opening below you.
-=> Once agian if you sit beside the boxes by the target you'll be able to get
anyone tring to plant the C4.
!
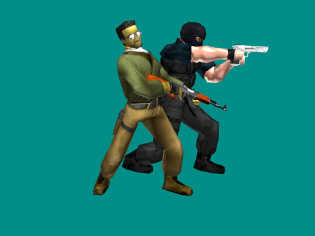
Offence: Terrorist
Try to get to a bomb target as quickly as possable, running with your knife makes you faster then
running with any other weapon.
Bomb Area A:
-=> The easiet way to area a in threw the long hall . If
you can make it threw there with out getting shot at, you should be able to plant the C4 while the rest of your team deals
with the CT's. Try to hide the C4 behind some crates to make it harder for the Ct's to find.
-=> If you can't make
it threw the hall, go around the other way and come up behind the CT's. Go threw the door and plant it.
Bomb Area B:
-=> It's better to go around the other way to get to area B. Just watch for snipers and keep ducking behind boxes
to stay out of their sights. Then go up the hill, turn right and go the back way . It takes longer but it'll keep you out
of the fire fight that's probably going on.
-=> If you take the faster way, Straght to the target, keep and eye out
for snipers. Since it's a long and straght way from the opening to the target snipers won't have much trouble taking you out.
|